Making a Pin Cushion at home with standard tools and fabrics available is easier than you thought.
You do not have to spend much on a shop-bought fancy-looking pin cushion. Instead, you can make one of your own with unique designs using your optimum creativity.
Right below, we will explain to you how to make a pin cushion in a few easy steps and with the most regular tools possible.
Trust us when we say you do not require more than an hour to make a pin cushion at home with your own hands.
Things You Will Need
- Fabrics Of Your Own Choice
- Stuffing
- Thread matching or complementing the fabric
- A big cute colorful button
- Needle
- Scissors
- Pins
Also, you will require a sharp set of eyes or experience to gauge the measurement. Otherwise, use a measuring tape.
Step #1 – Cut The Fabric Into the Proper Shapes
You might have decided to make a pin cushion that looks like a ball or a square. So, quite obviously, you will need to cut the fabric to those shapes. Now how big your cushion will be is also up to you.
You can use a teacup, a bangle, a round bowl, or a stitching hoop to get the needed shape if you are going for the round pincushions. If you want a square pincushion, use a ruler and a pencil or chalk and draw four sides according to your chosen measurement.
Then cut the shape with scissors. Keep in mind that you will need two pieces from the same fabric. So cut down two circles or squares from the fabric of the same size.
Step #2 – Pin The Two-Piece Or Shapes Of Fabric
You have to make sure you have stitched the two shapes on the wrong side of the fabric. So, basically, put the two pieces, one on the other, keeping the right side hidden, and the wrong side exposed, and then stitch them together.
Before you sew the two pieces, put them together and pin them together with pins. With this step, you will be able to stitch the seam comfortably. After pinning them cut the congregated fabrics from all around right at the edge. It will make sure the fabric will not tear while you stuff it up and sew.
Step #3 – Stitch the Seam
You can do this simple work with a sewing machine or a simple needle and thread. Measure the 1/4-inch for stitching the seam keeping an inch gap in between. You will need an inch opening for filling the stuffing, so do not stitch the two fabrics all over.
A simple straight stitch will do the job. After stitching, you have a round or square pocket with an inch opening.
Step #4 – Stuff The Cushion
The pincushion stuffing could be very different. You can use cushion filling or fabric scraps, even steel wools, as pincushion stuffing. However, we prefer cushion stuffing. So, take the stuffing of your own choice and put ample amounts in the pocket of the stitched pieces.
You should put as much as you need to to make it stiff and full. Now when you have filled the pocket through the opening enough, stitch the opening up. Now you have a round ball or a small square cushion.
Step #5 – Make Some Design
We mostly prefer making petal designs on the round ball to make it look a lot more presentable, and if you are making the square ones, you can just stitch a button in the middle, and you have your pin cushion ready. So, to make the petal design on the round ball, first, thread your needle.
And stitch from the middle of the ball. Take the thread to the furthest side and bring it to the center and stitch in the middle. Then again, take the needle to the opposite side of the side you just sewed and bring it to the middle.
Now do the same thing, keeping the same gap between all the petals you are trying to create. In the end, add the button and sew it like one sews a button typically.
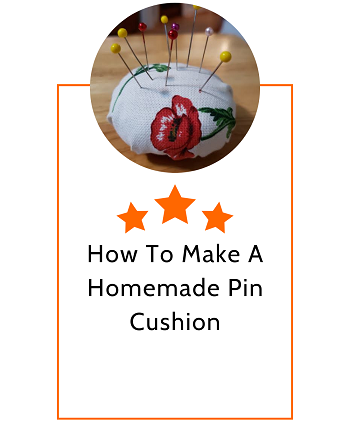
And you have your cute little homemade pin cushion ready to be pierced with all sorts of pins you have. Make as many as you want to and use them with utmost satisfaction as it is your very own creation.