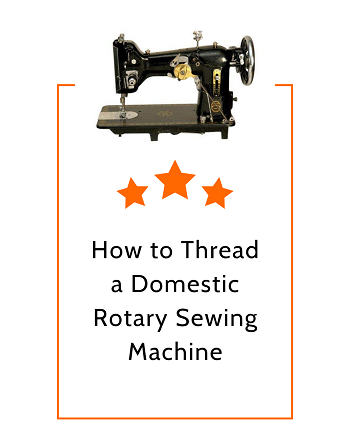
Sewing devices are different based on the hook system. Rotary models generate lockstitch stitches like their oscillating counterparts. However, they have significant differences in terms of operations.
Rotary systems contain hooks that travel all the way around a bobbin. They carry and release the top thread on the other side to produce stitches. Such a machine usually contains a gear between both shafts.
Now come to the benefits. Rotary devices perform smoothly. They hardly generate vibration as well as noises even after running at high speed. You will experience minimal thread jams too. Although they are expensive, they will definitely be worth the price.
Functionalities of every kind of domestic sewing machine rely on threading. None can achieve complete, even, attractive stitches without it. This process does not take more than five minutes. Without further ado, let’s have a look at the threading of rotary machines.
Step 1: Getting familiar with the machine
If you are a newbie, you should invest some time in knowing about the machine parts. Presser feet, bobbin, needle plate, take-up lever, tension regulator, thread guide, disc wheel, and bobbin winder are some of them. Try to identify them individually and learn about their functions. Read the instructional manual for the details.
Step 2: Raising presser foot
The presser foot is one of the most important parts of a sewing device. It manages clothes’ movements under the needle. Plus, it maintains the correct upper thread tension as per need. You have to raise it using the presser foot lifter. Now it’s time to turn the disc wheel. Stop when it reaches the highest level.
Step 3: Thread placement
The spool pin generally stands horizontally or vertically in the device arm’s center. Its role is to hold the thread spool. Set your spool of thread on it. When the spool rotates, the thread will be released from it. Make sure that a thread is coming out at the right angle. Otherwise, you’ll face several problems later.
Step 4: Take the thread under the hooks
Bring your thread end to the thread guide while maintaining a slight tension. Secure it against the guides and tension plate, respectively. The place is responsible for controlling the overall stress applied to the thread. It ensures evenly formed stitches and prevents thread breaks. So, do this step carefully. Lead the thread end under its hook from front to back.
Step 5: Coming to the auxiliary spring
The next phase is taking the thread end through the machine’s auxiliary spring. It should be falling into notch A. Keep pulling the thread upward to hook it under the guard. Find out the take-up slot. Slide the thread end into it from the back.
Step 6: Pulling the thread downward again
At this moment, you have to go down to the needle clamp. This clamp has control over the needle’s movements. Thread its hook from the back and pull it to the front.
Step 7: Threading the needle
Here comes our final part. Push the thread’s tail through the needle’s hole from the left side. Be sure to pull all thread strands properly. Check the thread tension; it should be neither too loose nor too tight. Now you have finished threading successfully.
Some Tips
- Only use the compatible thread and needle. Do not use damaged or broken needles
- Clean and oil your machine regularly before using it. It will reduce the abrasion between several parts and assist in smooth operation
- Start sewing slowly right after you complete threading
- Give a trial on a piece of scrap fabric first to check whether the machine is running well or not
- Adjust the thread tension, machine’s speed, and presser foot’s pressure according to fabric type
Final Words
Domestic brands launch great models with innovative upgrades. Although most people are running after the industrial versions, domestic ones are still going strong. They have good sewability, evenness, surface smoothness, and a user-friendly approach. So, you should better give them a try.
But all efforts may go in vain due to problematic threading. That’s why we mention each step of threading rotary sewing equipment to help you out. You will no longer encounter threading issues if you follow the instructions correctly.