Whatever we do, we’ve to follow a certain structured path. Why?
It’s pretty obvious that you don’t want end up as a failure. A structured and well-defined path makes the road to success easier and smoother.
Now, this theory is not applicable for competitive situations only, but true for every aspect of our life.
Say for example, sewing! As the first step of starting to sew, you must know your machine – how it works. And knowing how to thread a sewing machine is one of the most important primary steps in your sewing career.
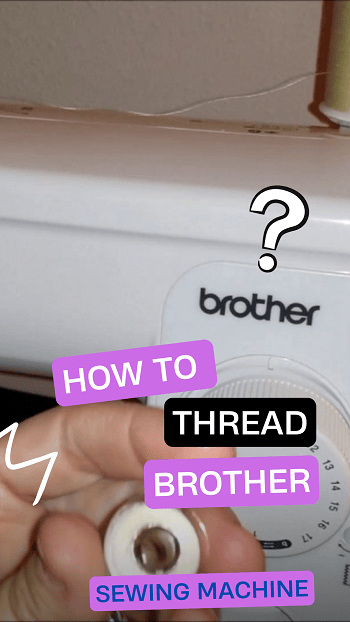
In this article, I’ll talk about how to thread a Brother sewing machine. As you might know that there are several models of Brother available in the market, I’ll take the Brother LS 1217 model as a standard one.
I’ve divided the article into three parts so that you can never remain confused at the end of the article!
Part One: Wind the Bobbin
The first step is to position the spool. You’ll find the spool pin on the top side of the machine. Set the spool there and make sure that the spool rotates clockwise if you pull the thread.
Oops! Before starting this step, don’t forget to turn on the machine. I just forgot to mention it!
If you know how to wind the bobbin, you can skip part one of this article.
Now, pull the tail of the thread from the spool across the machine and wind around the tension disc situated on the opposite side of the machine. Pull the thread from the left of the tension disc to bring it back to the bobbin shaft.
In this step, you’ll need to pass the thread through the hole of the bobbin. Make sure that you’re sliding the thread from inside towards the top. You need to pull at least 3 to 4 inches thread through the bobbin hole.
In the fourth step, you’ve to set the bobbin to its place if you haven’t set it already. You’ll find the bobbin winding shaft on the top of the machine.
Put the bobbin on it and slide it to the right until it’s locked. Just keep in mind that the thread and the hole it passed through should face up when you set the bobbin on the shaft.
Now, secure the bobbin on the shaft by rotating it clockwise. You can use your hand. You’ll see that a spring from the shaft will slide into the bobbin. Proceed to the next step if you’re done.
It’s time to wind the bobbin. Pull up the thread that passed through the bobbin and gently press the foot controller.
Your bobbin should start winding. When the bobbin is fully wrapped with thread, you can trim the head of the thread on the top of the bobbin.
One reminder here – the machine generally stops automatically when the bobbin gets full. Don’t touch the balance wheel while winding the bobbin, it might damage the machine.
Part one done! Slide the bobbin shaft to the left, and you can lift off the bobbin from the shaft easily.
Let’s move to the second part of the article.
Part Two: Thread the Needle
Before you proceed further, turn off your machine. This will diminish the possibilities of injuries or other damages.
There is a balance wheel on the right side of the machine, right? Turn it towards you. This will raise the thread take-up lever on the left side. Turn the balance wheel until the lever reaches the highest position.
And one more thing: you need to raise the pressure foot as well. It’s easy – just lift the pressure foot lever.
Now, take the spool of thread and place it on the spool pin. Make sure that the spool turns counter-clockwise if you pull the thread.
If you’re done with this, pull the thread through upper thread guide and bring it down to the front channel on the right side. You’ll find the upper thread guide attached with the bobbin winding tension disc.
Then pass the thread through the right channel at 180 degrees and not diagonally.
There’s a thread tension dial on your machine. You should find it between the front channels. Wind the thread from behind and around that dial.
Don’t make any mistake to wrap it from right to left. Don’t forget to check whether the thread picked up the check spring of the dial.
It seems very complex, doesn’t it? Don’t worry! It’ll come in easy after a few times.
Now, you’ve to put the thread through the take-up lever’s hook and pull it back down. Make sure to slide the thread from the right of the hook.
There’s a thread guide above the needle. It looks like a bar across the needle. Pass the thread through the guide to the inside bend.
From the back of the needle, slide the thread through until a tail of 2 to 3 inches is created.
Part Three: Set the Bobbin
It’s time to load the bobbin. For this, raise the needle and presser foot first. If you’ve followed this article thoroughly, you should know how to raise the needle and presser foot by now. If not, go back up to part one of the article.
Remove the shuttle cover after raising the needle. You should find the shuttle cover on the front side of your sewing machine.
You’ll find a latch on the bobbin case. Simply pull the latch to take out the case.
Pull the thread for about 4 to 5 inches. You’ll need this tail to work in this step.
Now, slip the bobbin into the case so that the thread wraps the bobbin in a clockwise direction.
Before you plant the bobbin case back into the machine, pull the thread through the groove till it fits the spring clip. Make sure to put it through the delivery eye (thread guide hole) of the case.
Put the bobbin case into your machine again. The case doesn’t move around if fitted properly.
If you’re done with this step, turn the balance wheel towards you. The needle will go deep into the base and back up again to the highest position.
While doing this, don’t forget to keep a hold of the upper thread. Through this process, the upper thread should automatically catch the lower thread.
You should see that a loop of the two thread is created. You’ve to open that loop. Be careful if you’re using your hand.
Pull the threads both upper and lower for at least 6 to 7 inches towards the back of the machine. Make sure that the upper thread passes through the presser foot toes.
HOAH! You’re now all set to sew.
Conclusion
You should repeat the steps several times until the whole process becomes comfortable. Don’t hesitate to read the steps again and again.
I thought you might still feel uncomfortable reading through the steps. So, I found a simple and perfect video for you. This video will help you with a visual experience of what I’ve tried to say so far.
If you’ve gone through the steps thoroughly and carefully and watched the video, there is no way that you’re still unable to thread a Brother sewing machine.
So, start sewing, and don’t forget to take safety measures while sewing. If you love this article, don’t forget to sew something for me!