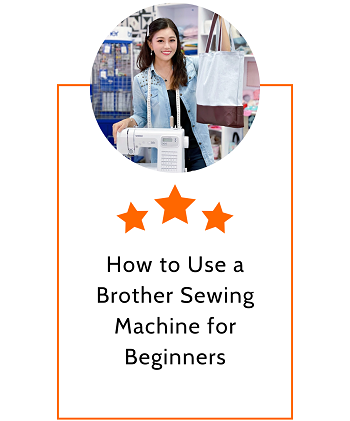
As new to a sewing machine you have purchased or are considering the purchase of a Brother sewing machine. Possibly you think it is more difficult to use a sewing machine than it really is.
Like with most other things if you grasp the basics first, then you can progress to more complex aspects of the task secure in the knowledge that your further study is grounded on correct procedures.
We designed this guide for absolute beginners and teach how to set up the new Brother sewing machine and then to sew using a straight stitch. Once you have mastered the straight stitch, other stitches and functions of the machine may be learned intuitively.
Different models of Brother sewing machines may have varying selections of stitches. The most important lesson to learn is to set up and master the sewing machine with straight stitching, in a safe way.
Setting up your machine
Foot Control & Power Switch Connect the foot controller to the machine by inserting the connector on the right side of the machine. You will see a power supply plug attached to this. Plug it into a wall convenient outlet. Ensure the sewing machine power switch is in the on position. When you switch it on, you notice that the sewing lamp lights up.
Bobbins
Turn the power off before you start this procedure. They design bobbins with particular sewing machines in mind. Make sure you use the correct bobbin (the ones supplied with the machine). On top of the machine, you will see a spool pin extend it fully, and place a reel of cotton onto the spool pin.
On your new Brother sewing machine, you will see a diagram of how to thread the cotton through the thread guide groove. Follow the instructions in the diagram. Bring the cotton back to the bobbin and thread it through the hole in the bobbin’s top (inside to outside).
Once done, put the empty bobbin onto the bobbin winder post and push the post toward the right of the machine. Turn the main power on and while holding the loose thread from the top of the bobbin, press down the foot controller gently.
After the thread has wound a few times, you can release the thread you are holding and continue to load the thread onto the bobbin. The bobbin will fill up and it will then slow down and stop. Release the foot controller pedal. Cut the thread and return the bobbin winder post to its original position. Remove the bobbin and then this is important: Turn the power switch off again.
Setting the lower thread
Raise the needle by turning the wheel on the left of the sewing machine and then using the lever next to the needle, to raise the sewing foot. You can tell when the needle is in the correct position when the line on the edge of the wheel lines up with the mark on the machine.
Remove the bobbin cover by sliding it towards you. Pop the bobbin into the sewing machine with the thread on the left side of the machine. Adjacent to the bobbin, you will see a diagram showing how to thread the lower bobbin. Leave two to three inches of thread laying to the left on the machine and replace the bobbin cover.
Setting the upper thread
Place a cotton reel on the cotton holder and position the reel so that the thread comes off the spool to the left. Using the diagram on top of the machine as a guide, thread the cotton through the tensioner and then pull it towards you.
Thread the cotton through the groove guide (following the numbers) the thread should pass through the thread take-up lever from the right side. Bring the cotton down and thread it through the thread guide on the needle holder. Lower the pressure foot and then thread the machine needle from the front.
Gently hold the thread and raise the pressure foot. Turn the wheel you used earlier to lower and raise the needle once. This will loop around the lower thread and if you gently pull the upper thread, you will bring out the lower thread through the hole. Pull both threads through the pressure foot and out towards the rear of the machine. You are now ready to start sewing.
Sewing
Turn the main power switch back on. Set the pattern selector dial to straight stitch. Raise the needle using the wheel and raise the pressure foot. You can now place the material between the pressure foot and the machine bed. Lower the pressure foot. Hold the material and thread with the left hand as you manually lower the needle. Then you can use the foot controller to continue sewing.
Conclusion
You have now set up your machine, learned how to thread a bobbin, and then thread both the top and bottom cotton, so you are ready to sew. You have learned how to set the machine for straight stitching and should practice that for a while before you start experimenting with other stitches.
Remember that safety is a consideration at all times and whenever you are working around the needle and bobbin, making adjustments, you should always turn off the power.