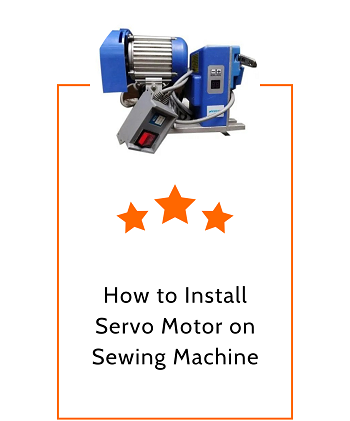
A motor is a very crucial part of any sewing machine and if a clutch motor powers your unit, then you might want to upgrade this powerhouse to the quieter, super-efficient, and high-torque servo motor, which is designed to provide superior strength for any kind of stitching project.
Basically, most servo motors are made up of 4 components, which are a gearing set, control unit, position sensor, and of course, the powerhouse itself, which is a DC motor.
If you want to do this upgrade by yourself and you have already bought the servo motor, here are the steps that you need to follow in order to carry out a proper installation.
Make sure you have the right tools
Before getting started on the installation, ensure you have the right tools for the job. These include an adjustable spanner for tightening the mounting bolts, a flathead screwdriver, a star screwdriver, an Allen wrench, and a small hammer.
Assemble the servo motor
Next, unpack the servo motor and the first thing you will notice is that some of its parts are disassembled. However, in most units, this is usually only the pulley, in which you may get a cogged and V-belt pulley. With these, you just have to select the one that is required.
V-belt pulleys are the most common because almost all sewing machines are run via a belt. Simply fit in the pulley to the motor and tie it up using the provided nut. Next, install the pulley cover bracket loosely because you will need to adjust it later.
Mount the motor to the sewing table
After setting up the motor, insert 2 of its carriage bolts into the leftmost holes in the sewing table. Next, place a washer, lock washer, and nut on each of the bolts so that the nut can safely hold the motor once tied up.
Thread the nuts almost halfway then insert the motor into the bolts through its bolt slots. While in this position, insert the third carriage bolt on the opposite side through the table and slot on the motor, then follow it up with the washer, lock washer, and nut. Finger-tighten all three nuts for a loose fit.
Adjust the position of the motor
Finger tightening the three installation nuts is important due to this step. You need to adjust the motor’s position so that it lines up with the belt groove slot on the sewing table.
To do this, move the motor along its extended bolt grooves until the belt pulley that you installed earlier lines up with the belt groove, as well as with the belt pulley on the sewing machine above.
Once this motor pulley is lined up correctly, tighten all the bolts underneath using the adjustable spanner to the point where the motor is firm with no movement.
Mount the belt to the motor pulley
Using the same belt that you have been operating with your previous clutch motor, insert it around the belt groove on the sewing machine and then through the belt slot on the sewing table. After this, try to mount it on the belt groove and see whether it fits.
If the belt is hanging loosely, adjust its tension by moving the motor backward, and this is done by loosening the adjustment screw, which is usually located just above the pulley.
If it is too tight or does not fit, move the motor forward by loosening the same adjustment screw then tighten it once the belt’s tension is perfect.
Finish this off by aligning the belt/ pulley cover bracket that you had installed earlier with the belt’s direction and fasten it into position. Make sure it does not make contact with the belt at any point, then slide on the belt/ pulley cover onto this bracket.
Attach the linkage bar from the treadle to the motor lever
Once the mounting process is complete, it is time to hook up all the connections and this starts with the linkage bar.
This bar is the one that connects the treadle to the motor operation lever so that you can use your foot pedal to control the motor’s speed.
Since you already had the treadle in place, simply attach the linkage bar’s bolt to the lever on the motor then fasten it in place using a bolt. Test to see if the treadle moves this operation lever.
Connect the motor to a power supply
The hard part of the installation process is complete at this stage and all that is remaining is to hook up the motor to the power supply so as to begin testing.
Test the operations
First things first, check whether the belt is properly tensioned and positioned by gently pressing on the treadle. Run the motor for a few seconds to see whether the belt is free from its cover and bracket. If installed properly, the belt should run smoothly without any play.
Once this is done, test the responsiveness of the treadle or throttle so as to see how it affects your sewing performance. Remember one of the benefits of a servo motor is speed control and high torque even at low speeds.
Finally, you can try sewing on some scrap fabrics or even on your actual project while playing around with the different speed settings so as to try out the capabilities of your new motor upgrade installation.
Conclusion
All in all, there are many different types of servo motors in the market with different designs and features but the installation process given above applies to all since most of them have the same bolts slots, pulley placement location, and the like.
Basically, these steps will help you complete your installation perfectly so that you can resume sewing in no time. The upgrade should be a game-changer as you should expect full control such as with more speed customization while producing less noise.
Of course, this is assuming that you are coming from a background of using the old clutch motor technology. If you are new to sewing, then you will get to enjoy these benefits as a start.