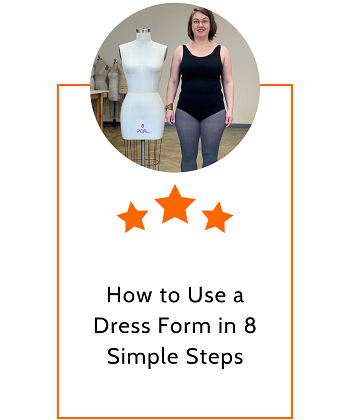
A dress form is basically a 3-dimensional model of the torso that is used in the design and sewing process to fit clothing so as to make adjustments and alterations as you create a professional-looking design.
However, even with these benefits that come with using this item, most amateur and DIY dressmakers do not know how to use a dress form, with the most common assumption being that it is only meant for experts or industrial use.
The reality though is that learning how to use a dress form can help you drastically improve your hobby or career because you will end up creating more professional outfits.
If you are interested in this, here are a few steps that you should follow.
Ensure you have all the tools
Apart from the obvious tool for the job, which is the dress form, there are a couple of things that you need before getting down to work.
These tools include scissors, pins, measuring tape, padding foam, a sharpie pen, pattern paper, pattern transfer paper, a tracing wheel, and of course, the fabric for draping (usually muslin fabric).
There are many other tools that you can bring along for the project, but having these as starters will be enough. You will be adding more in the process for convenience.
Foam Fit
The second step is to pad the dress form. It is almost impossible to find a generic form that matches your exact body dimensions or the dimensions of your client.
Therefore, once you get one that is close to these required measurements, pad the various parts that are not up to size, which could be around the hips, bust, waist, or shoulders. Use a padding foam material for this.
Prepare the dress form
After foam fitting the dress form, the next step is to prepare it by sketching a simple dress pattern on its surface, which will be used as a guide or template for preparing the final dress pattern.
For this, you can use bias tape to mark the major hems and seams in your design, and this tape should be pinned down to the form following the lines that will eventually be on the dress.
Please note that for the best results, this tape should lie flat on the dress form without any twisting at any point.
Draping
This is where the usefulness of a dress form really comes into play. Instead of flat pattern making, which, as the name suggests, involves designing the pieces in flat paper form, draping involves patternmaking on the dress form.
Using your muslin fabric, lay it over the dress form while pinning it down flat and even over the sketch and bias lines that you had laid across the surface earlier.
Cut the fabric following the bias lines and leave an excess of about 5 cm when trimming around the neck hole and arms as a seam allowance.
Once this is done, use the sharpie to trace the bias line pattern onto the muslin fabric. To do this, you should use the pins to help join these points together by pinning the endpoints, then drawing the connecting line between them.
Fit your pieces
Once you have draped all the muslin pieces around the dress form, unpin then trim them further to the required seam allowance for each piece (from the excess that you had left). After this, stitch the pieces together and you will have created the first draft of your design.
Design your pattern
In most cases, the first draft might not fit perfectly once you try it out, especially if you are a beginner at this. This should not make you feel as if you are failing because design and pattern-making is a continuous, iterative process that takes time to perfect.
Furthermore, dress forms are not human and thus, cannot mimic certain body movements that impact how dresses and other outfits fit on the body.
A few tips to consider here as you redo the draping process include making sure the fabric sits tight and in the correct place before putting on any markings or trimming it to size, and always take note of the changes you make on each iteration so that you know what not to repeat and what works.
Draft your pattern
Once you are satisfied with the fitting, you should transfer the draft measurements to a pattern paper as part of your collection and for future reference when you want to recreate that design.
The transfer process is quite simple and you should start by dismantling your muslin design, then laying each piece of the design on the pattern paper, with a tracing paper included in between face down.
Trace around the circumference of the marked lines on your design using the tracing wheel, and this should create a dotted design from the tracing paper to the pattern paper.
Next, draw around the dots and connect them to form smooth lines, which should create your pieces on paper. Cut out these patterns and add them to your collection.
Display your end result
Apart from this design process, you can also use the dress form to fit in the final design, just to see how it looks. From this, you can add some final touches, for instance by pinning some embellishing finishes and see whether they fit.
This will help you utilize your creativity in customizing the final draft of your design, and you can also use the same form to display the dress to your clients.
Conclusion
All in all, a dress form is meant to help mostly in the design process, and as you can see above, it certainly makes the work easier due to the fitting around a human-sized model.
Though it may be a little bit difficult at first, continuous use, readjustment, and redesigning will eventually lead to the final perfect draft, and in the process, you will get the gist of what works well in every part of this design process.
Just make sure to follow all the steps above at least for the first few times because eventually, you will get to create your own sequence that works best for you.