I understand how this whole thing looks complicated to you right now. You look at the different crocheting hooks, stitches, yarns, and patterns, and you get so overwhelmed that you start convincing yourself that this is not your thing.
But worry not. Even the expert crocheters were once there.
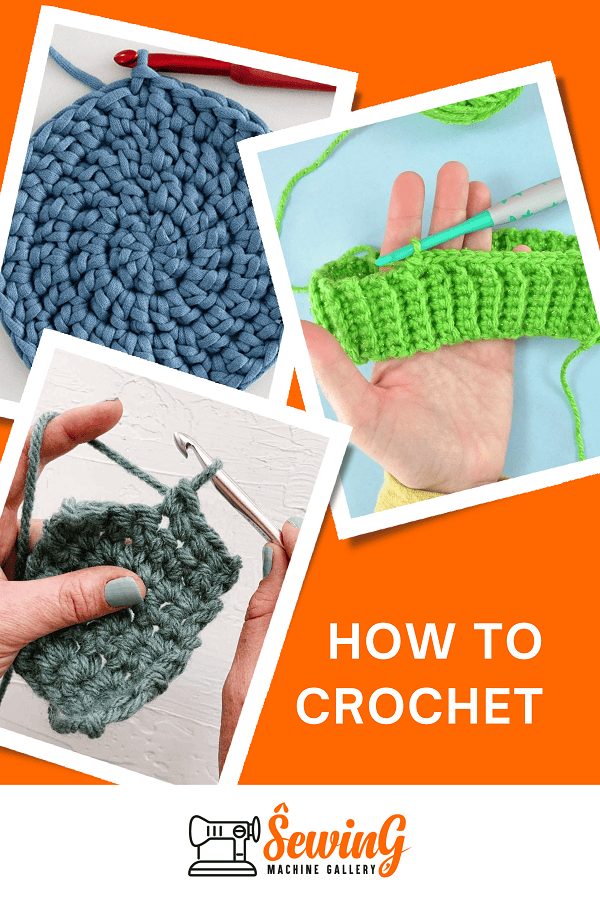
In this post, I’ll talk you through a complete crocheting guide to help you learn all the basics of crocheting in an easy-to-understand language.
After you’re done reading this guide, I’m confident you’ll get started working on your first-ever project (a washcloth or a scarf maybe?)
Let’s soak right in…
Materials You Need
Before we get into more details, I’d like you to grab the necessary “tools of work” so that you can practice along with my tutorials.
But given the different yarns (sizes and weights) and hooks (sizes and materials), you might get confused on the right types of supplies to use.
The truth is- any yarn and hook can work for you; the idea here is looking for materials you’ll easily work with.
Concerning the yarn, you’d want to go for something simple and plain, made of soft acrylic or cotton yarn. Also, ensure the yarn has a solid color so that you can easily see your stitches as you continue working.
As for the right hook size for an absolute beginner, the label of the yarn you choose must indicate what hooks to use it with. The rule of thumb for hooks, however, states that the thicker the yarn, the thicker the hook.
You’ll also need a pair of scissors for cutting the yarn correctly.
When you have these crocheting supplies at hand, you can proceed to the next step…
How To Hold The Hook Correctly
Many starters think that holding a hook is a complicated thing. But it’s not. There’s no set way of holding the hook, so you just hold it in the way it feels comfortable for you, and you’re ready to go.
Holding it uncomfortably might result in hand cramping.
That said, I’d like to recommend to you two styles you can try (depending on your dominant hand) below:
Under-the-Hook position: hold your hook the same way you’d hold a spatula. The hand should be under the hook, and the thumb and forefinger should be on the thumb rest.
Over-the-Hook position: Hold the hook like a pencil (the handle should rest against your palm). Ensure your hand goes over the hook with the index finger and thumb positioned such that they grasp the thumb rest.
Practice the two styles until you get one that feels easy and comfortable for you, then move to the next procedure…
Making A Slip Knot
What’s a slip knot? It’s the very first (and the simplest) crocheting pattern you ought to learn when you begin crocheting. This stems from the fact that all the crocheting patterns start with a slip knot.
While there are multiple ways to come up with a slip knot, in this post, we’ll confine ourselves so the simplest approach for beginners.
Here are simple steps on how to make a slip knot:
1. Start by making a loop with the yarn of your choice, by bringing the yarn tail on top of the working yarn on a bench or table. Limit the tail to about 4”-6” after crossing the working yarn.
2. Now create a pretzel shape with the above loop. Press the point where the tail and working yarn cross with your left finger, and then bring the look down over the working yarn with your right hand (i.e., slip the loop upside down).
3. Now grab your crochet and insert it from left to right over your working yarn, through the loop. Ensure it goes over the pretzel’s right side under your working arm, then over the pretzel’s left side.
4. Finally lift your hook and, lightly tug on the end tail and working yarn to tighten it to complete the slip know.
Congrats! You just made your first slip knot for crocheting!
Making A Chain Stitch (Foundation Chain)
The second most important crocheting pattern you need to learn when you’re still new to crocheting is the chain stitch. This basic pattern acts as the foundation for nearly all your crochet patterns.
Follow this tutorial on how to create your project foundation:
1. With the slip knot in place, bring the working yarn over your hook (this is commonly called to yarn over in crocheting world and is abbreviated as ‘yo’)
2. Next, yarn over to allow the working yarn to come behind your hook, then over it, and finally to the left of your slip knot. Here, you’re trying to bring your working yarn underneath the hook.
3. Now pull your working yarn through your slip knot by moving the hook to right and pulling the yarn over and through the slip knot. If you do this correctly, you should be left with two loops- one on the hook and the other one on the other one beneath it.
These loops are simply the chains and means you’ve just created your first chain!
4. To add more chains to this foundation chain, just repeat the above steps (i.e., yarn over). Each yarn over equates to one chain- meaning if your project steps say 25 chains, then you’ll have to make 25 yarn overs.
Making A Single Crochet
Another basic crochet pattern you can’t afford to skip is the single crochet (abbreviated as sc). Since most stitches start with the same procedure for sc, learning it will help you easily learn how to create longer stitches.
These are steps to follow to come up with this essential stitch:
1. Insert the hook where you wish to create the sc. This is usually done into the foundation chain, in the second chain from your hook.
Note that when you insert your hook, there must be two yarn loops above it and one yarn strand below it.
2. Yarn over (yo).
3. Then, pull your working yarn through the loop (just the same way you did when making a single crochet). On completing this step, you should see two loops on your hook.
4. Yarn over. Yes, yarn over again!
5. Now pull your working yarn again through the loop…but this time, be sure to bring the yarn through both loops on your hook. This way, you’ll end up with only one loop on your hook, meaning you’ve just completed your first single crochet.
Repeat the above process across the row, each time inserting the hook into the next chain.
Making A Double Crochet
So far so good! You’ve learned the most significant patterns in crocheting. But you’re not done. At this point, I’d like to introduce to you double crochet- an excellent stitch for making sweaters, scarves, shawls, etc. that feel comfier.
How to double stitch:
1. With a foundation chain at hand, yarn over.
2. Slide the hook between the first 2 front loops as well as under your fourth chain link from your hook.
3. Yarn over again.
4. Pull your working yarn through the foundation chain by guiding the hook through the chain gently. This should result in 3 loops on the hook.
5. Now pull the hook through the first 2 loops on your hook. Yarn over again and pull your hook through the last 2 loops on it.
There you have you have your double crochet!
Repeat the above process to make more double crochets.
For the Left-handed Crotchetier:
Any lefties in the house?
This is your part…as you already, most crocheting instructions are written with the right hand in mind, so you’d want to learn how to handle them with your left hand.
Good news is that there are no rules on how to correctly crochet; different people do it differently. You can work it out in a way that feels comfortable for you, only that this time your dominant hand will be the left hand.
You can try any of the two methods of holding a crochet hook to find out which one works for you.
Also, remember that crocheting involves using both hands, so your non-dominant hand (the right hand) will also get involved. For instance, you’ll be holding the crochet hook in your left hand and manipulate the yarn in the right hand.
You might also consider holding your newly formed stitches in the left hand. And as they grow heavier and larger, you can use the right hand to help.
Bottom Line: The left hand will be handling most of the work given that it’s your dominant hand. But your right hand should get involved too.
Final Word
How was the tutorial? It was a great learning experience, right? As you have already noted, crocheting isn’t some rocket science preserved for a few brains. It’s an art that anyone can hack with patience and commitment.
If you can hold your crocheting hook and comfortably and make a simple slip knot, then you can work on any crocheting project, no doubt!
Bookmark this full crocheting guide as you embark on your first project and make reference to it where necessary, for the best results.
Happy crocheting!